YUS!

So trying to stay away from the holo for now because it seems to be my go to for everyday mani. today I wanted to try something a little different but still modern and cute. I LOVE FRENCH MANIS but pink base and white tip is boring. SOOOOOOO heres this!

I used Revlon Colorstay Gel Envy #510 in “Sure Thing”, Bring the salon home KISS in Black and Silver glitter, ONEDOR-no wipe gel topcoat, and some silver striping tape.

Hope Yall like!


More Holo, OF COURSE!

SOOOO IVE been playing with holo glitter as usual. I got a new black holo “powder” I wanted to try and I think it turned out cute. It wasn’t a fine powder like a chrome-buffing powder but more of a black holo glitter. #Disappointment!

Both are “Born Pretty” powders, the left is the Holo Chrome powder I’ve used in previous posts and the right is Black Holo Glitter “Powder”. Its a glitter to me, not a powder!

IMG_0999

Here’s what the black glitter looks like on the nail. (FYI its buffed over a black gel base)

Pretty cute and stayed on the nail pretty well for around 5 days! Its definitely more of a chunky glitter/Holo than a smooth linear holo. It gave me the idea to try different kinds of holo glitter polishes so I went with it.

Here’s some more Holos I played with these past few days 🙂 Ring finger is F.U.N Lacquer in “Black Holo Witch” over a chrome Chic Pretty in “Liquid Metal” and all others are Fresh Paint “Dark Stars”. You can see the thicker/chunkier holo glitter on the ring finger and allows more room for the rainbow spectrum to be seen. Where as the finer Fresh Paint one is more condensed and gives a linear movement of the rainbow spectrum under the light.

Also I’m trying to find a super nerdy nail art idea, if anyone has any suggestions! Let me know!


Dat Pinstripe!

SOOOOOO I wanted to play some more with the striping tape and my inner Goth loves black nails! I wanted little pop of color so decided to do a vampy blood red underneath!

I used-Revlon Color stay Gel Envy #620 “Roulette Rush”, my trusty OneDor #1 in black Gel polish, liquid latex (of course) and  OneDor no wipe Gel Topcoat. I did a base of the “Roulette Rush” down, set my striping tape in a random pattern over that, lined around the nail in liquid latex and covered it in the OneDor Black Gel. The lines weren’t as clean as I’d like, especially where the tape overlapped but a little glitter placement over it and BOOM!!


YAAAAAS QUEEN! LOVED IT!!!!!


Dat Holo GURL!

SOOOOO I’ve been dabbling in all things Holographic lately especially nail polish. My favorite YouTube-er “Simply Nail Logical” is the Queen of Holo! Ive played around with a few different “Holo” styles and techniques I guess you’d call them.

First is an actual Holo Polish, I’ve used this before by Fresh Paint called “Dark Star”. Its a Charcoal Grey Holographic paint, meaning it has the color shift of the rainbow in the polish itself (usually only under certain lighting can the actual  shift of the rainbow colors be seen)

The second is a Pink/Silver base Fresh Paint called “Dorothy”, and a Revlon “Holographic Pearl” Topcoat. My Revlon bottle is damn near empty because its my favorite Holo Glitter Polish!  I added the OPI Crystal Topcoat to kind of seal it all in since the glitter in the Revlon one is a little textured.


As you can see the rainbow colored pearls/flakes can only be seen under certain types of lighting and that’s what determines it being “Holographic” or not. I like that it adds kind of another dimension to the polish.  Its not just a glitter pink polish that looks cute, but then in sunlight or other lighting adds a rainbow color spectrum on top!


“Sally” Mani! Nightmare

SOOOOO I’ve been looking at a lot of nail art ideas lately and love the Halloween feeling, dark, ghostly nails. I found one that was a kind of patchwork-Sally from the nightmare before Christmas vibe and loved it!

Got my tools together and here’s how it went!

I used:

Jordan 147 “Island Fuchsia”

Salon Perfect 508 “Yowza Yellow”

Funky fingers 8289 “The Moody Blues”

and a basic fine tip nail art brush with basic black.

IMG_0890

Did a sloppy “patchwork” pattern because I figured adding the lines would clean it up and I went with work smarter not harder! Added the black lines where the colors met and some “stitch lines” and BAM!!!

Add a Gel Topcoat (OneDor no wipe), also found that the yellow was fluorescent under black light which was UBER COOL!

AND here’s the final look! Super cute, kind of festive, and different! I LOVE IT! and my useless left hand was total able to paint lines and stitches LMAO!


I’m so Blue….and foil striped

SOOOOOO I was feeling lazy but have to have my nails covered in some kind of paint. I find it helps me not to bite my nails and I tend to not chip/break them too, only if they are painted. I did a navy blue base in L’Oreal #550 “After Hours”, then used some of my new striping tape( different colors), and the OneDor no wipe Gel Topcoat. The base color looks black but its a very dark navy. Turned out PURTY DARN CUTE for a quick and easy mani!

Also, the L’Oreal #550 “After Hours” was a PAIN IN THE ASS to get off. It was like smearing everywhere and staining my skin, nails and cuticles. HOT MESS 10 out of 10 do not recommend!@


OOOOH GURL!

So after my Oiju board nails were such a success and showed me I can do more that I thought I was capable of! I went and bought some new nail art things I wanted to add to my nail hoard. I ordered some foil striping tape, regular and holographic transfer nail foil. I haven’t got the foils in yet but I did get the striping tape! Now first off let me tell you this stuff is IMPOSSIBLE to get off the ring at first! I felt like a toddler trying to open something and getting mad at it.

I did some Googling on nail art ideas with striping tape and was looking for something simple, easy-ish and HELLA CUTE! I saw some patters/ideas that I liked but not really my style or others that I though were a little more complicated than I’m capable of yet. I took a few ideas and kind of added my own little flare here and there! I love black & pastels color scheme and got this “Honeydew” from Fresh Paint I wanted to put with.

For this I used:Fresh Paint “Honeydew”, Funky Finger “Bizerk Turq”, Pure Ice “Black Rage”, Revlon #041 “Sterling”, Salon Perfect #603 “Silver Sparkler”, and Wet n Wild #453B “French White Crème”. I also used some dotting tools, the striping take, and did a gel topcoat to seal it all in, because we all know ill destroy it in a day if I don’t!


Also been trying to get better pictures. Tried different lighting, hand poses, filters, etc!


Victorious Ouji!

SOOOOO as this journey of stamping continues, I’ve been doing a lot of “research” on tips and tricks. I did some trials over the past few days and they were too horrid to share! One legit looked like a toddler took a sharpie to my finger tips (don’t ask).

Now, we are getting closer to Halloween and I LOVE this time of year and the holiday itself. I wanted to try something I thought was actually achievable and something my left hand (non dominant) could do. I find I can do a lot with my right since its my dominant hand, but trying to make it look the same on the right hand (using my left) NEVER WORKS!

I saw a few pics of Ouji Board nails and thought it was something I could try! I used:

-Sally Hansen #173 in “Sand Storm”, #193 in “Slick Slate” and # 403 in “Go Gamet”

-Kiss nail art paint in black

-ONEDOR No wipe Gel topcoat

IMG_0686

I used some stickers and painted them with the black nail art, my trusty stamper that did the sun/moon/stars, then I free handed some basic shapes and HOLY F BALLS BATMAN!

This is before the Gel Topcoat but I was WAY TOO EXCITED about how damn cute it turned out! The Gel Topcoat was an after thought of wanting to seal it all in and protect it from damage. I want these effers to last FOREVER!!!! MWAHAHAHAHAHA


Chameleon chrome!

So for the weekend I wanted to do a gel/shellac so it lasts longer and I don’t have to retouch and etc. I used the OneDor #1 in black, and OneDor “No wipe gel topcoat”.

I did 2 coats of the black and cured them in an LED/UV light about 1 min each coat.

Once that’s done and still kind of warm and tacky, quickly buffed the Born Pretty in Green/Purple chameleon Chrome flakes in #005 and used a silicon “buffing” tool as well!

It’s hard to get the color shift from green to purple in a pic but you. Can kind of see it from different angles. I also found using the liquid latex when buffing the chameleon chrome flakes into it helped to not make a huge mess, but makes it hard to apply evenly. The liquid latex has a sticky substance that sticks to the nail from the buffing tool. I sealed all that in with a no wipe gel topcoat (OneDor) and those were the outcome. This is one of my favorite nails to default to, or the linear holo powder from Born Pretty.

Stab, Stamp, Repeat!

SO! Today, I wanted to take another stab (literally) at stamping. Feeling more confident in learning how to do it affectively, using tips and tricks from other bloggers and just “practice makes perfect!”

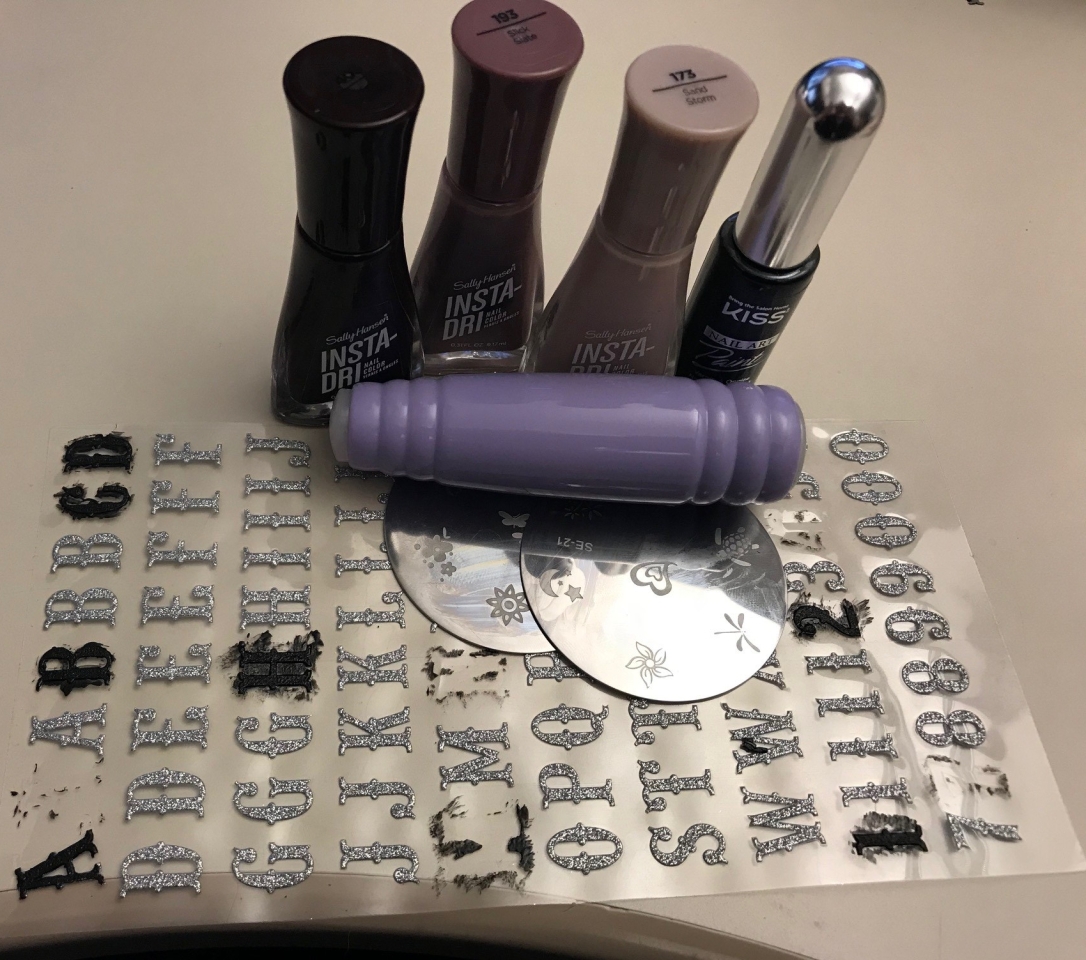
NOW, I started off with a clean, dry nail! I got all my tools out, I used the polish’s and topcoats below. Now I found that the purple, firmer stamper I had worked WAYYY better than the softer, jelly like one so decided to stick with that. After learning from yesterdays massacre, I knew I needed to verbally assault it before or it wouldn’t obey.

ASSERT YOUR DOMINANCE OVER IT! lol

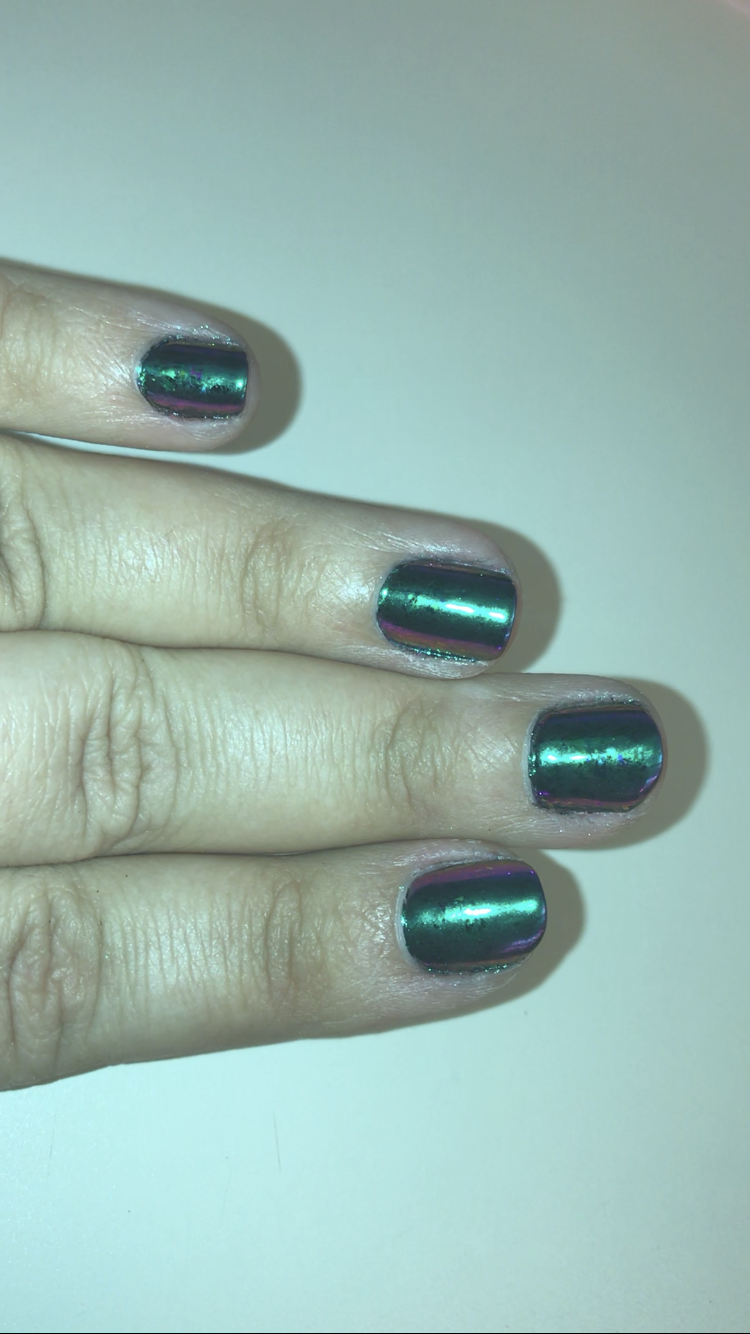
I tried some plain, easy stamps an Owl and a Seahorse and HOLY F BALLS BATMAN! Were doing it!

Kind of hard to see ( I know) since there’s no base color to contrast it to. But believe me when I saw I screamed like a banshee toddler when I got the whole owl image onto my nail! YAS!

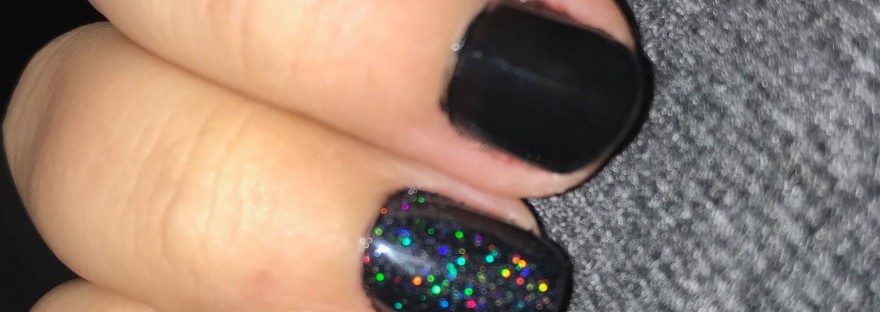
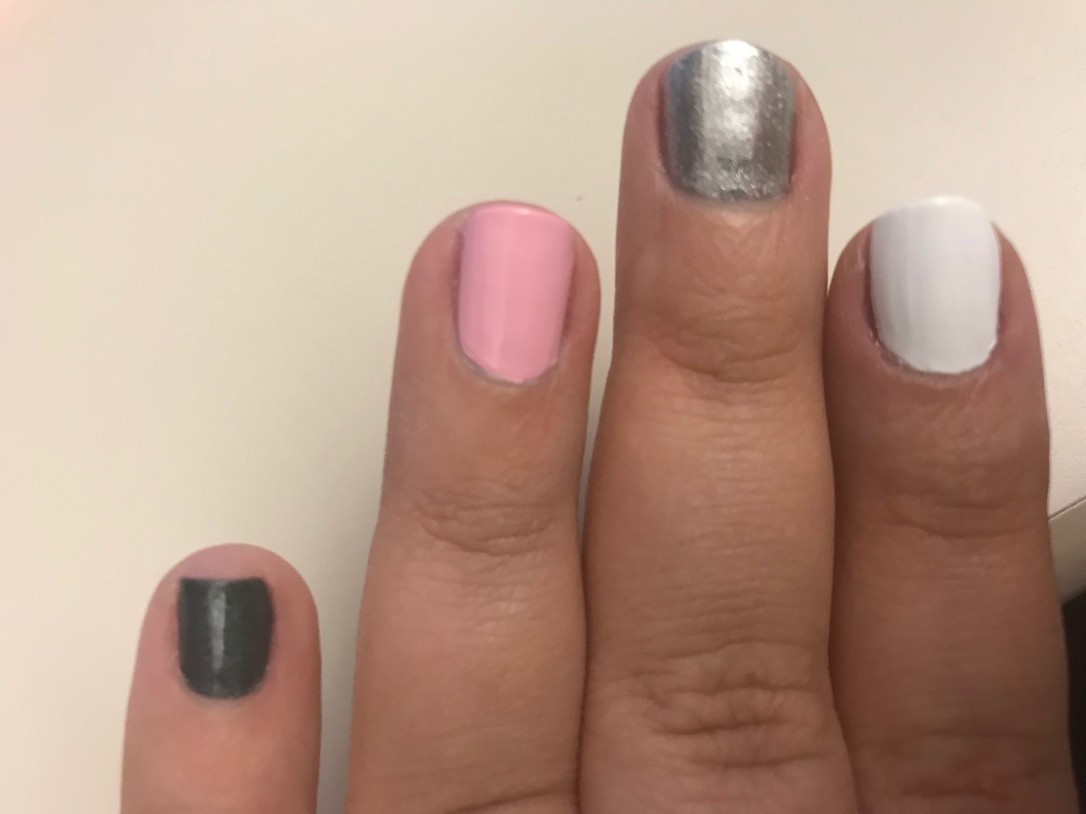
SO I decided to be brave and paint my nails and finally get it over a base color. I chose some pink, grey, white to contrast the darker/lighter stamping colors. I also used a liquid latex barrier around the nail, since some of the stamps patterns are bigger and would go onto my skin. Liquid latex is a life saver for nail art!

IMG_0629

Step #1 BE BRAVE!

Step #2 Verbally assault and be abusive towards the tools

Step #3 Stab, Stamp, Repeat! I can do this…………

OMFG…………..VICTORIOUS BANSHEE SCREAMING……………..!


Now, Are they the most beautiful, clean lined, flawless, stamp ever?! Absoluuuutely not!

But are they the best I’ve ever been able to do and still pretty damn CUTE?!

HELLS YES BATMAN! So as they say practice makes perfect and when it doubt just stab it and cuss it out! I hope this helps those who feel as I did with nail stamping and how infuriating it can be! It takes time and patience and don’t give up! find what works for you and go from there.

XOXO

-Beep